微信聊天机器人,本质就是一个应用程序,启动之后,扫码登录你自己的微信号,就可以实时动态地接收你微信中群聊或私聊中的消息,并且可以根据消息内容进行回复。
遗憾地是微信官方并不提供这样的服务,于是开源技术社区里的同学群策群力,搞出了不少解决方案。目前看用的比较多的就是 Wechaty,只需要少量的代码就可以实现一个聊天机器人,除微信之外,还支持其它很多种聊天类的应用。
一路折腾下来之后,发现 Wechaty 的官网有点儿陈旧,给出的指南也很不是很严谨,新上手的同学很容易走弯路,这里记录一下我自己的实践过程,有兴趣的同学可以参考一下。
开发环境
Wechaty 的运行环境依赖于 Node.js v16+。不同的操作系统(或版本)安装不同版本的 Node.js 可能会遇到一些问题,为了描述方便,这里使用 Docker。
拉取镜像
docker pull centos:centos7.9.2009
启动容器
docker run -dit --name wechaty centos:centos7.9.2009 /bin/bash
进入容器
docker exec -it wechaty /bin/bash
以下操作在容器里进行。
安装工具
yum install -y wget
yum install -y sudo
yum install -y vim
yum install -y git
下载 Node.js 安装包
wget https://nodejs.org/download/release/v16.19.0/node-v16.19.0-linux-x64.tar.xz
安装 Node.js
VERSION=v16.19.0
DISTRO=linux-x64
sudo mkdir -p /usr/local/lib/nodejs
sudo tar -xJvf node-$VERSION-$DISTRO.tar.xz -C /usr/local/lib/nodejs
删除 Node.js 安装包
rm -f node-v16.19.0-linux-x64.tar.xz
配置 Node.js 环境变量
创建且编辑文件 /etc/profile.d/nodejs.sh,写入下述内容:
VERSION=v16.19.0
DISTRO=linux-x64
export PATH=/usr/local/lib/nodejs/node-$VERSION-$DISTRO/bin:$PATH
保存文件,执行命令:
source /etc/profile
测试 Node.js
执行命令,如果输出相似内容,表示 Node.js 安装且配置成功。
node -v

v16.19.0
npm version

{
  npm: '8.19.3',
  node: '16.19.0',
  v8: '9.4.146.26-node.24',
  uv: '1.43.0',
  zlib: '1.2.11',
  brotli: '1.0.9',
  ares: '1.18.1',
  modules: '93',
  nghttp2: '1.47.0',
  napi: '8',
  llhttp: '6.0.10',
  openssl: '1.1.1s+quic',
  cldr: '41.0',
  icu: '71.1',
  tz: '2022f',
  unicode: '14.0',
  ngtcp2: '0.8.1',
  nghttp3: '0.7.0'
}
npx -v

8.19.3
入门示例
创建并进入项目目录 ding-dong-bot
mkdir ding-dong-bot
cd ding-dong-bot
初始化项目
npm init -y
编辑文件 package.json
添加 "type": "module",如下:
{
  "name": "ding-dong-bot",
  "version": "1.0.0",
  "description": "",
  "main": "index.js",
  "scripts": {
    "test": "echo \"Error: no test specified\" && exit 1"
  },
  "keywords": [],
  "author": "",
  "license": "ISC",
  "type": "module"
}
创建文件 ding-dong-bot.js,复制/粘贴代码
代码可以直接从官方示例项目中获取:ding-dong-bot.js,如下:
/**
 *   Wechaty - https://github.com/wechaty/wechaty
 *
 *   @copyright 2016-now Huan LI <zixia@zixia.net>
 *
 *   Licensed under the Apache License, Version 2.0 (the "License");
 *   you may not use this file except in compliance with the License.
 *   You may obtain a copy of the License at
 *
 *       http://www.apache.org/licenses/LICENSE-2.0
 *
 *   Unless required by applicable law or agreed to in writing, software
 *   distributed under the License is distributed on an "AS IS" BASIS,
 *   WITHOUT WARRANTIES OR CONDITIONS OF ANY KIND, either express or implied.
 *   See the License for the specific language governing permissions and
 *   limitations under the License.
 *
 */
 import 'dotenv/config.js'

 import {
  WechatyBuilder,
  ScanStatus,
  log,
}                     from 'wechaty'
import qrcodeTerminal from 'qrcode-terminal'

function onScan (qrcode, status) {
  if (status === ScanStatus.Waiting || status === ScanStatus.Timeout) {
    qrcodeTerminal.generate(qrcode, { small: true })  // show qrcode on console

    const qrcodeImageUrl = [
      'https://wechaty.js.org/qrcode/',
      encodeURIComponent(qrcode),
    ].join('')

    log.info('StarterBot', 'onScan: %s(%s) - %s', ScanStatus[status], status, qrcodeImageUrl)

  } else {
    log.info('StarterBot', 'onScan: %s(%s)', ScanStatus[status], status)
  }
}

function onLogin (user) {
  log.info('StarterBot', '%s login', user)
}

function onLogout (user) {
  log.info('StarterBot', '%s logout', user)
}

async function onMessage (msg) {
  log.info('StarterBot', msg.toString())

  if (msg.text() === 'ding') {
    await msg.say('dong')
  }
}

const bot = WechatyBuilder.build({
  name: 'ding-dong-bot',
  /**
   * How to set Wechaty Puppet Provider:
   *
   *  1. Specify a `puppet` option when instantiating Wechaty. (like `{ puppet: 'wechaty-puppet-padlocal' }`, see below)
   *  1. Set the `WECHATY_PUPPET` environment variable to the puppet NPM module name. (like `wechaty-puppet-padlocal`)
   *
   * You can use the following providers:
   *  - wechaty-puppet-wechat (no token required)
   *  - wechaty-puppet-padlocal (token required)
   *  - wechaty-puppet-service (token required, see: <https://wechaty.js.org/docs/puppet-services>)
   *  - etc. see: <https://github.com/wechaty/wechaty-puppet/wiki/Directory>
   */
  // puppet: 'wechaty-puppet-wechat',
})

bot.on('scan',    onScan)
bot.on('login',   onLogin)
bot.on('logout',  onLogout)
bot.on('message', onMessage)

bot.start()
  .then(() => log.info('StarterBot', 'Starter Bot Started.'))
  .catch(e => log.error('StarterBot', e))
保存文件。
这是 JavaScript 版本的代码示例,其它语言的参考官方文档。
安装依赖
npm install dotenv
npm install wechaty
npm install qrcode-terminal
运行
node ding-dong-bot.js
如果可以看到类似输出:
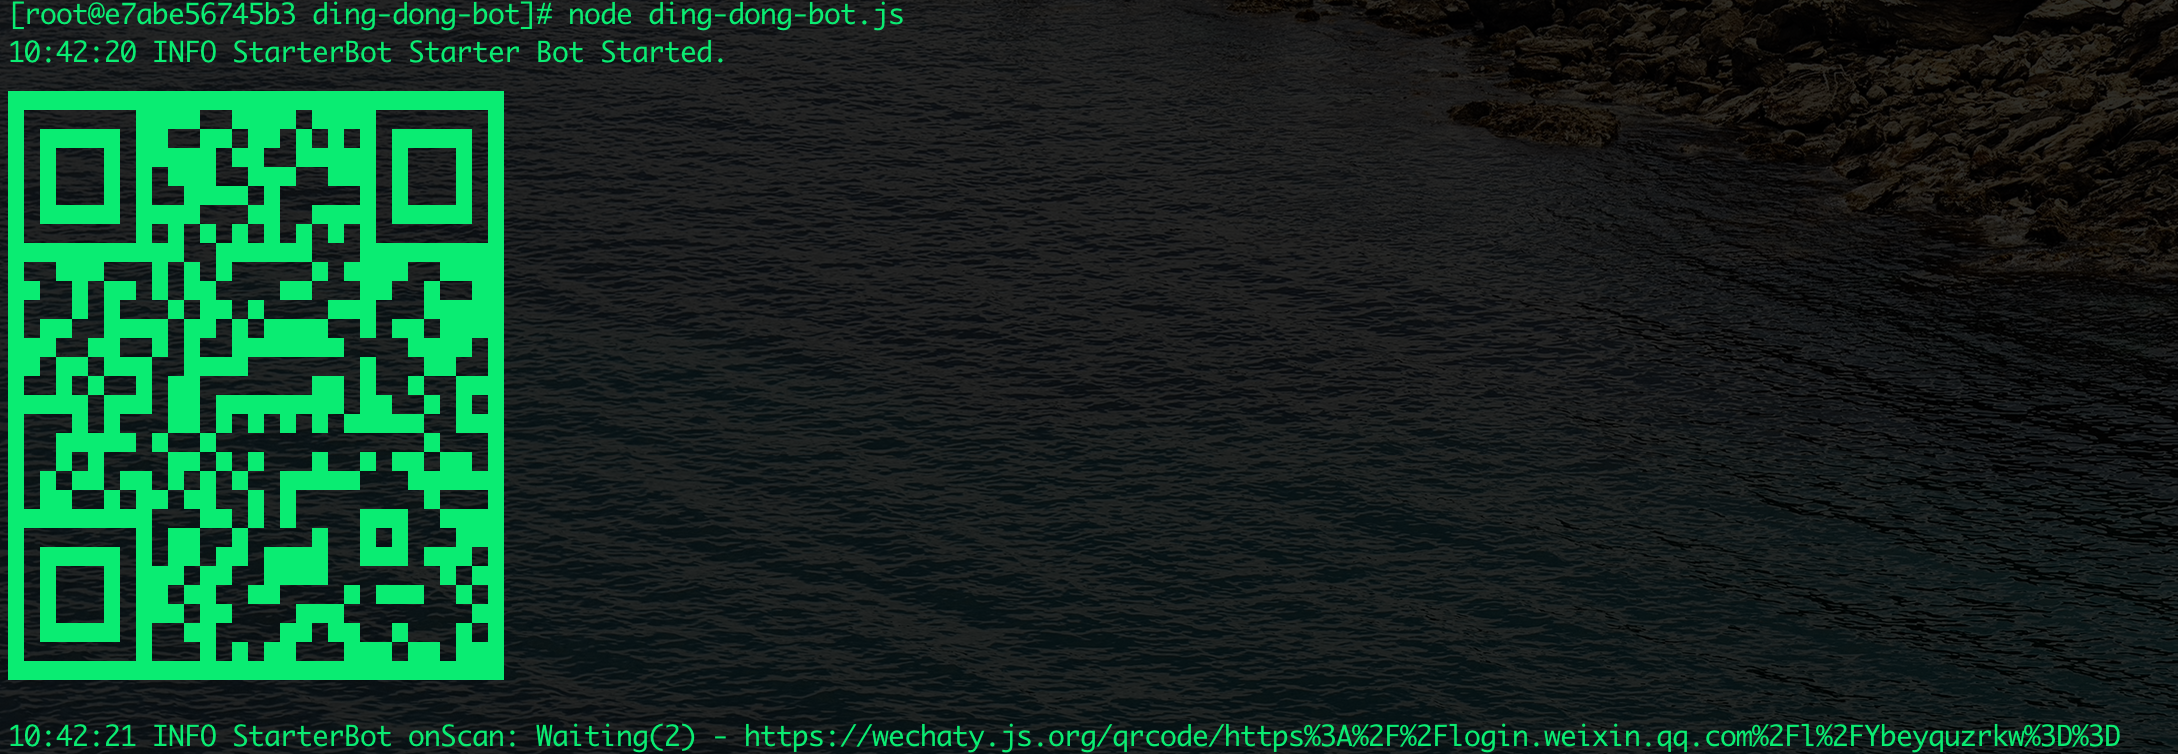
则表示运行成功。
扫码登录
打开手机微信扫码登录,看到如下信息:
10:46:24 INFO StarterBot onScan: Scanned(3)
10:46:39 INFO StarterBot Contact<渊深海阔> login
10:46:41 INFO StarterBot Message#Unknown[🗣Contact<渊深海阔>]
10:47:07 INFO StarterBot Message#Text[🗣Contact<萌猫他爸>]    ding
表示登录成功。使用另外一个微信号给自己的微信号(刚刚扫码登录的微信号)发送一个消息:ding,会收到一个回复消息:dong。
实现原理
参考上述代码中的方法 onMessage 实现:
if (msg.text() === 'ding') {
  await msg.say('dong')
}
逻辑很简单,不再赘述。
增强版示例
微信聊天机器人收到消息内容之后,可以
- 判断消息是自己发送给自己的,还是其他人发送给自己的
- 判断消息是否来自群聊,以及获取群聊名称
- 判断消息是否来自私聊,以及获取发送人名称
- 获取消息类型
- 获取消息内容
- 其他等等。
import { WechatyBuilder, ScanStatus, log } from "wechaty";
import qrcodeTerminal from "qrcode-terminal";

function onScan(qrcode, status) {
  if (status === ScanStatus.Waiting || status === ScanStatus.Timeout) {
    qrcodeTerminal.generate(qrcode, { small: true }); // show qrcode on console

    const qrcodeImageUrl = [
      "https://wechaty.js.org/qrcode/",
      encodeURIComponent(qrcode),
    ].join("");

    log.info(
      "ChatBot",
      "onScan: %s(%s) - %s",
      ScanStatus[status],
      status,
      qrcodeImageUrl
    );
  } else {
    log.info("ChatBot", "onScan: %s(%s)", ScanStatus[status], status);
  }
}

function onLogin(user) {
  log.info("ChatBot", "%s login", user);
}

function onLogout(user) {
  log.info("ChatBot", "%s logout", user);
}

async function onMessage(msg) {
  const self = msg.self();
  if (self) {
    // 自己发送的消息,不处理
    return;
  }

  // 消息群聊
  const room = msg.room();
  // 消息发送者
  const talker = msg.talker();
  // 消息类型
  const type = msg.type();
  // 消息文本
  let text = msg.text().trim();
  if (!text) {
    // 消息文本为空,不处理
    return;
  }

  log.info(
    "ChatBot",
    "message from room: %s, user: %s, type: %s, text: %s",
    room ? await room.topic() : "{}",
    talker ? talker.name() : "{}",
    type,
    text
  );
}

function onError(error) {
  log.info("ChatBot", "run error: %s", error);
}

const bot = WechatyBuilder.build({
  name: "ChatBot",
});

bot.on("scan", onScan);
bot.on("login", onLogin);
bot.on("logout", onLogout);
bot.on("message", onMessage);
bot.on("error", onError);

bot
  .start()
  .then(() => log.info("ChatBot", "started."))
  .catch((e) => log.error("ChatBot", "start error: %s", e));
增强版相比于入门版示例,代码整体结构没有发生太大变化,注意两个地方就可以。
error
代码行数:75,增加错误处理器,防止运行时错误导致程序异常终止。
onMessage
代码行数:33,收到消息之后,使用日志的形式输出消息的群聊名称、发送者名称、消息类型和消息文本内容。有两种特殊情况:自己发送的消息和消息文本内容为空,不会有输出。
结语
可以看到,使用 Wechaty 实现微信聊天机器人,确实很简单。我们只需要根据接收到的消息内容,实现更加贴合业务场景的消息回复即可。